
This series of blog posts which I have converted from Youtube videos. I personally have really enjoyed these videos so in order to textually document them, these are essentially some screenshots and rough notes organised.
This particular post is based on the awesome Justin Schwartzenberger NGConf 2016 talk. It can be found on the link https://www.youtube.com/watch?v=J5Bvy4KhIs0&list=PLOETEcp3DkCq788xapkP_OU-78jhTf68j
One thing to set straight is that front end developers are design implementers. Our core expertise lies in 3 factors which are JavaScript, HTML, and CSS. Our main objective is to bring style to the web app’s facade. One platform to do so is through Angular.

What Angular does is stick the CSS into the style tag (from the components). Now the question comes first is that why does Angular use a CSS shim? Let’s see the answer with a bit of code as an example.

Encapsulation Mode
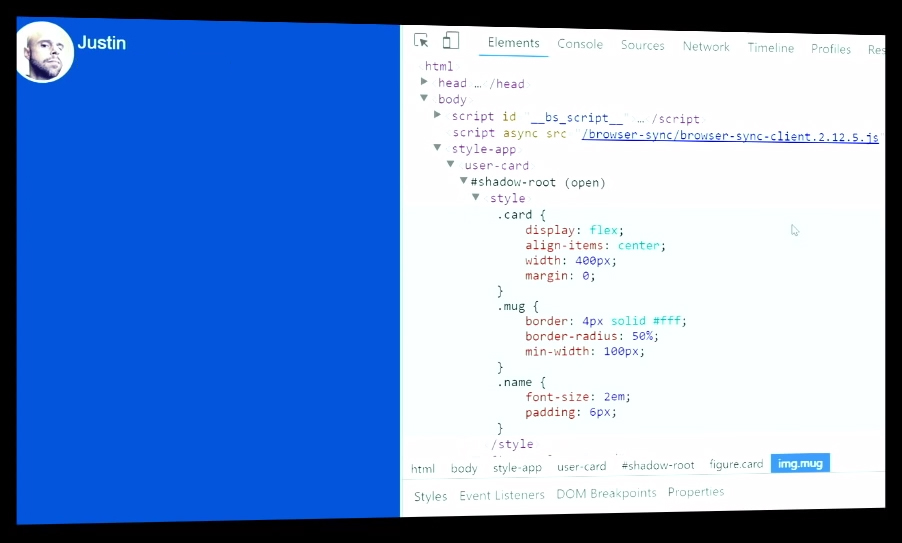
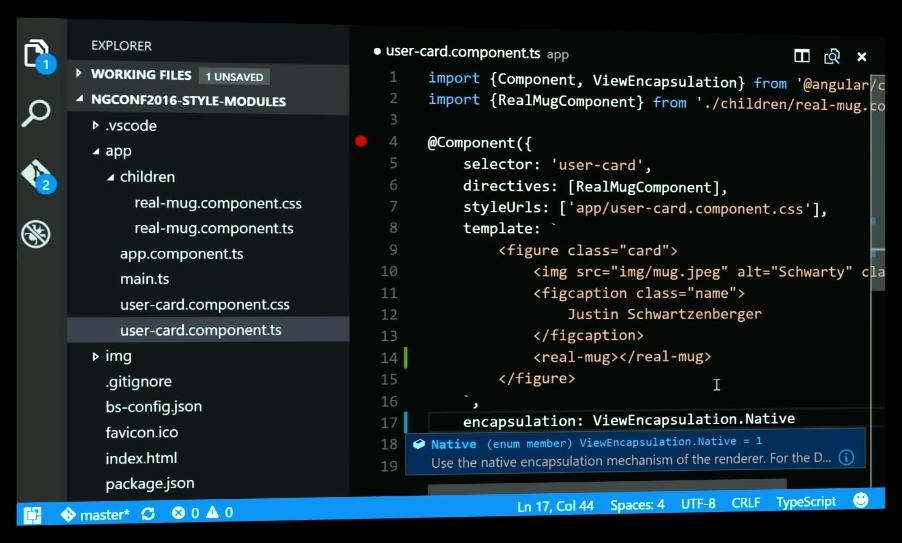
Components in Angular have three encapsulation mode, which are native, none and emulated. Now in our component, we can set the encapsulation mode using the metadata property, and well here we are, let’s change the ViewEncapsulation mode type to firstly native. It renders our user DOM to shadowtag for browsers that support it.
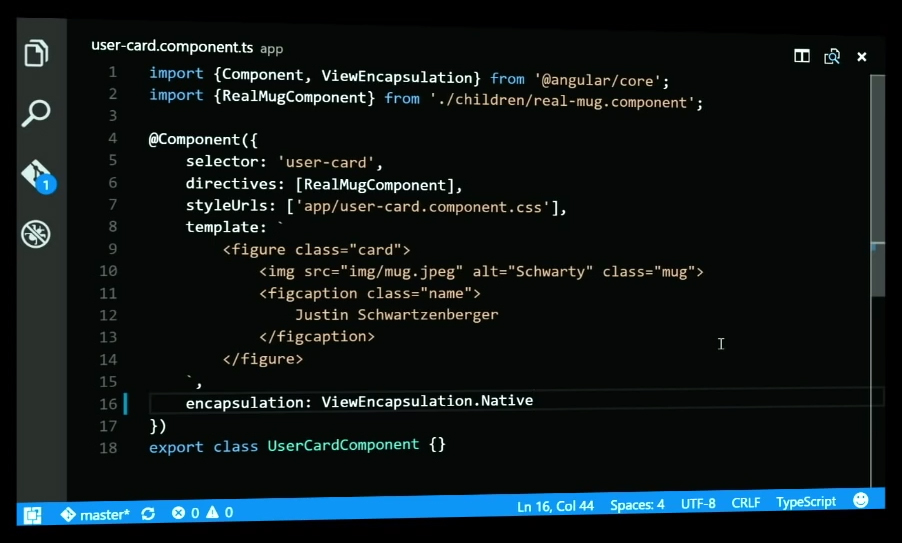
It will encapsulate the style tag inside the shadow root. For none, It will do the same thing only it will not put it inside the shadow root.
Now for emulated, it will take the code we wrote and stick it inside the style tag and that inside the DOM. But what will Angular do is shim the attributes we wrote with unique attribute names and add them to all the DOM elements coming from this component template. This allows Angular to target only the
Adding Components to the Webpage
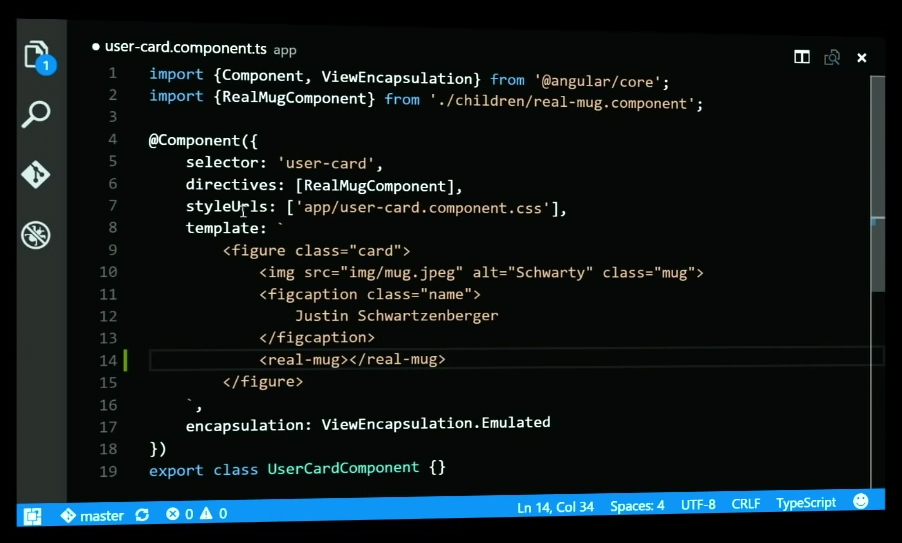
Alright so let’s try adding another component to the webpage. We are already importing RealMug component here so we can just go ahead and use it in the component. Let’s put the RealMug inside the figure element. Now, this realmug component is making use of a CSS class called mug.
Let’s check the CSS script out. User card has certain dimensions added to it as well as some rounded borders. Now if we check the browser side, we can see that the image is getting shimmed through a unique component called ngcontent-kyf-2 whereas the mug is being shimmed through ngcontent-kyf-2. So, if you see the CSS code you will realize that both the components are being shimmed through these two different unique selectors.
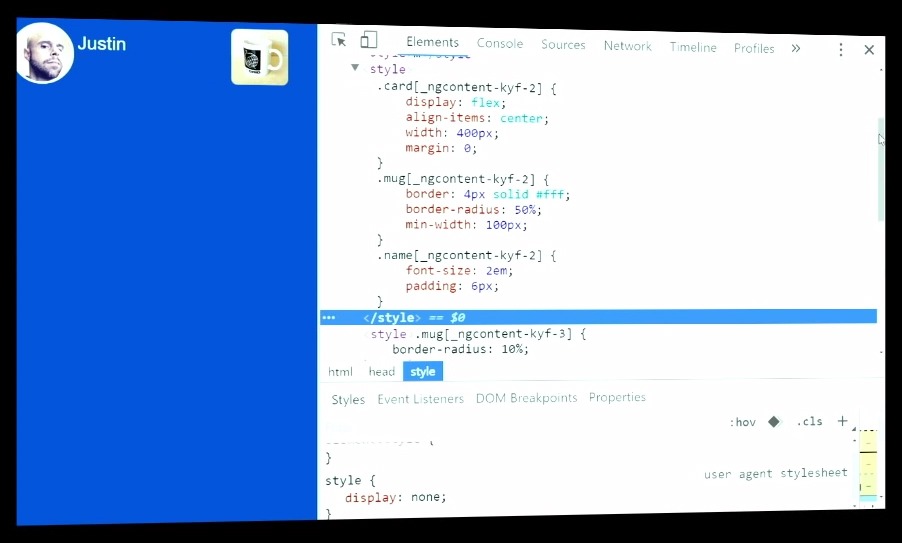
So, what Angular does is generate unique selectors for all the components that we add to the script. It randomly generates the three letters in between for every time the CSS is loaded. So, if you refresh the page here, you will see that the unique attribute has the middle three characters changed. Whereas the before and after bits of it as still the same. So, what it really means is do not go using these unique attributes in any CSS styles of your own because these are not made for it. They will change over time and are not specific to any particular style format of their own.
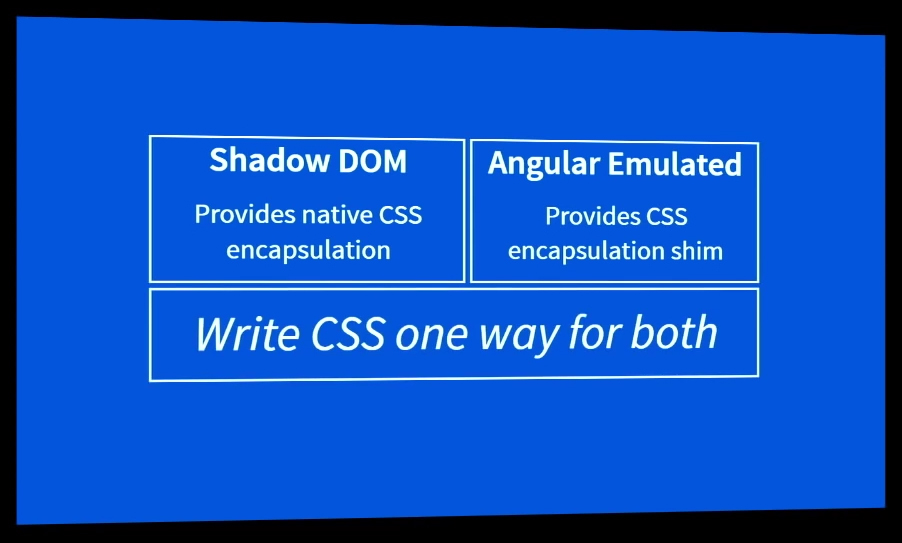
So, let’s sum this up. Shadow DOM is used to provide native CSS encapsulation. Whereas, Angular emulated property provides CSS encapsulation using a shim. In both cases, we write CSS one way for both to use.
Now if you think about it we have all been through that road where we have to work out code and notations with styles bleeding down and well, different calls for each which makes it a lot harder. So, imagine you want to show something as selected you can simply use a term as generic as .selected() to do so and specify the color or other attributes within. And you can do so with all the components that you have in your code.

And each though will have their own unique attributes so some could refer to colors whereas some could handle borders and what not, but the gist of it is that the same function applies for all which makes it pretty cool.
Image Selector Code
Let’s add an image selector code bit in our script. Now you may think that it is a pretty common element and could entirely go wrong but trust me it won’t.
If you go to the webpage and inspect the element, you will see that the component we added of image selector has been given a unique attribute to be shimmed with.


Here we have our encapsulation. So, no other image tag in the DOM tree was effected when this style rendered. We have been trying to solve this scoping problem in the web for quite a while now and Angular just comes in and solves the whole issue up, which is amazing.
Understanding :host
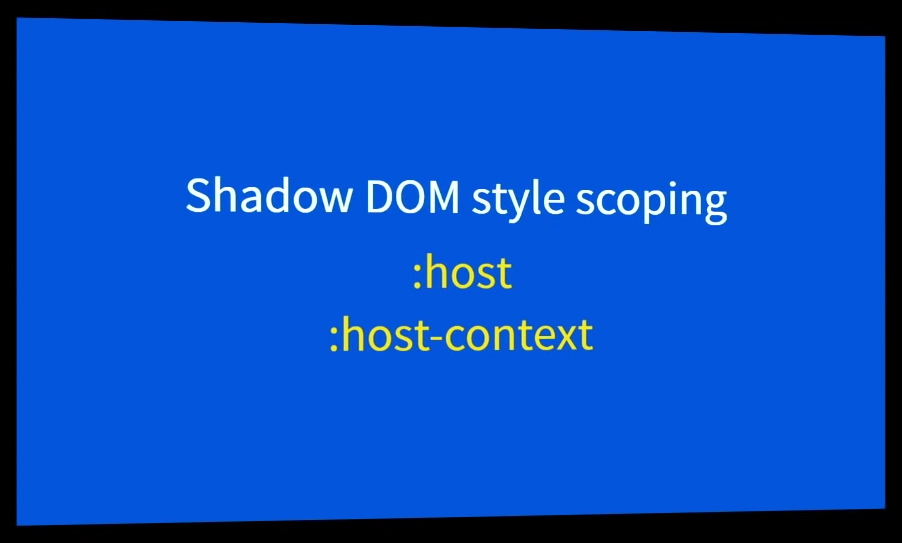
So, shadow DOM has pseudo component selectors that let us work with the host class. Like scoping style for instance :host and :host-context. Well, not to worry because Angular has us covered on this as well.
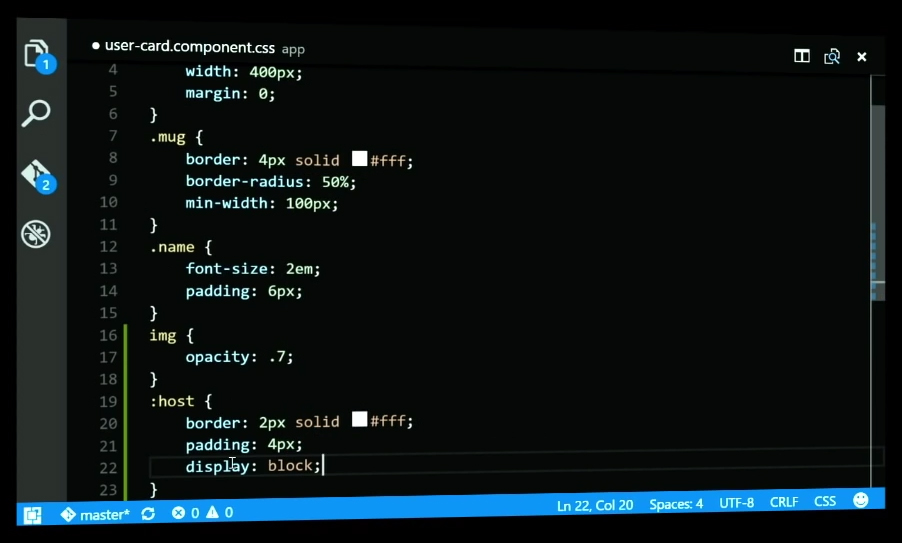
Let’s start with understanding what :host is used for. So, when we create a component, we provide a selector to it where we tell it that we are on the lookout for a custom element inside the Shadow DOM so if you find it, inject our component template inside of it. So, when we want to style the selector element, we can use the component of :host. We can add a host element down here and give it some nice borders and paddings. What we will need to provide it especially is a display block since browsers usually don’t come with their own default style blocks.
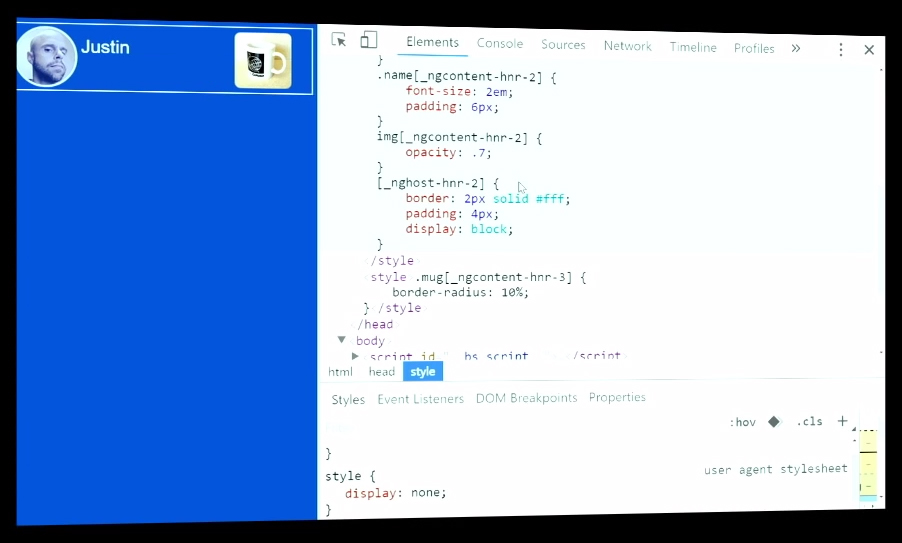
So, let’s check our web browser and inspect the element, we can see that Angular has given it a unique attribute as well. Which is nghost-hvr-2. And if you go down and check the style components, it uses ngcontent instead since it host doesn’t work outside of Shadow DOM.
Just a head up, don’t go styling with this unique attribute since again these are randomly generated.
If you go down and check the style component, it has attached our unique attribute everywhere since again they are the host of our component style. Now, if you change the encapsulation to native mode and switch back to inspect. You will find the :host as is because that works well in Shadow DOM.
Our :host is running inside a shadow DOM whereas, the RealMug component is running on native in the user card component.
So, it will pick up the :host selector as is within the shadow boundary. So, all of its elements are fair game for the image selector.

Now we can solve this if we hope over to our RealMug component and set it to native as well. We will see now that the fix is applied. Inspect element and you will see that the styling is now encapsulated.
:host-context Use
Now if you have a look, we are shadow DOM-ing all the way down the tree. So, you can say that Shadow DOM is pretty cool for us and so is the Angular Emulator. Now let’s move on to the :host-context callout.
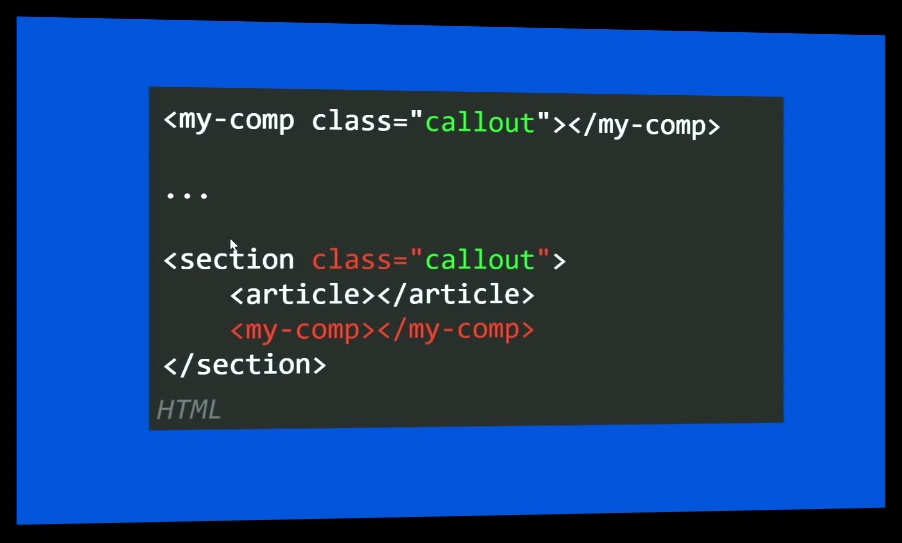
What it does is to find out that if our selector is on the host element or anywhere up the DOM tree from the host element, then it goes ahead and applies the styles to these hosts. Alright, so I am going to add :host-context selector in the RealMug component and tell it we are on the lookout for the class card. Since we are targeting a custom element so we give it a display box element.
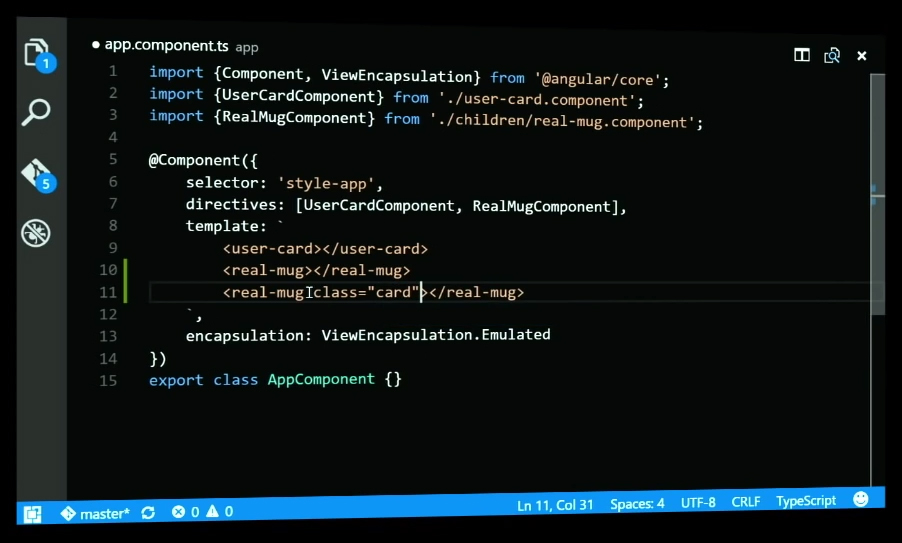
So, if you go ahead and see the web page you will be able to tell the changes visually too. If you inspect it you will see the host-context part as is because the native mode runs in the Shadow DOM. So, right now I added this in the children component and now I will add it to the component not directly linked to the Shadow DOM to see how this works. Let’s go to app component and here we have already loaded the RealMug component and added into the directive, so we will use it inside the component and add styles to it. Now if you see the web browser, you will see that the styles are not applied to the second mug component since it is not really matching all the rules. Now I will add it directly to the tags because it is suppose to work when applied on the tags, and well you can see the styles are applied as it is in the native mode. Now if we hop over and change the mode to emulated, Angular comes in and deals with it properly. If you inspect the code on the webpage you will see that it is shimming the code same way, with the unique attributes, as it did with the host.
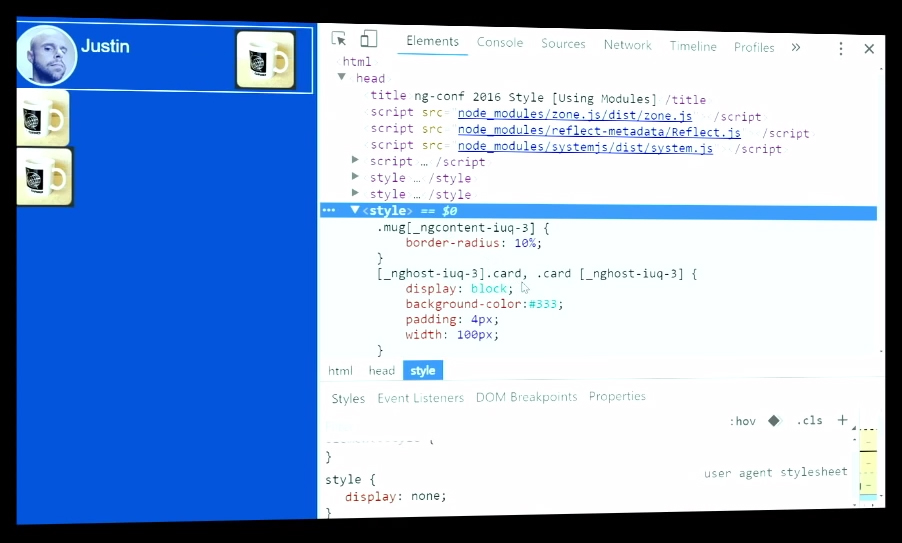
It has given us two selectors for the card though. Since the :host-context are designed to work in two conditions, that is, when the style is on the tag, so the first tag is for that. Whereas the second condition is for when the style is anywhere up the forest DOM. So, that is what the second tag for.
Angular Emulated is a powerful tool for our frontend development, which not only helps us organize our CSS effectively but also control its impact. This helps reduce errors, especially when we go about changing design again and again in the future.