
After recently getting stuck in traffic while coming back from work, I started looking into how to best get notified for events like these. I already knew there was a twitter channel @khitraffic which posted about traffic notifications every now and then, but it was hardly ever it was related to the route I travelled on. At first I was thinking of creating a simple filtering system which filtered the tweets based on the keywords I have it – I then realised that such a backend already existed – Zapier. Zapier is a service will allows you to connect different APIs to do different tasks. I also use it for transferring tasks between Bitbucket and Asana (my issue tracker and project management tool). Below I have described on how you can setup such a notification service your self as well.
You will need a Twitter account and a Zapier account. In the free Zapier account you can setup 5 different ‘zaps’, so that will work for us. Once you have created both accounts, login into the Zapier account.
From the button on top right, Make a New Zap, we can begin the process. Our trigger app shall be Twitter. Under ‘Choose a Trigger’, we will select ‘User Tweet’. For ‘Choose an Action app’ we will select ‘Email’, we can also selection Android notifications and SMS – however that will require additional configurations (feel free to explore!). Choose an action will be ‘Send outbound email’. The final screen looks like the following:

Click Continue.
Under ‘Choose a Twitter Account’ select ‘Connect a Twitter Account’. This will open a modal where you can name the account (or leave the default). Optionally you can change the Auto Follow to no. Clicking on continue will open a new window which will authenticate your twitter account. Once done, it will return to the original page with your account selected.
Click Continue.
Click Continue.
Now comes the part where you configures the filter. Under ‘username’ we enter the Karachi Traffic twitter account ‘khitraffic’. Then we click on the ‘Add a custom filter’ button. This is something we will repeat for as many filters we want.
For ‘Field’ choose ‘Text’, ‘Condition’ should be ‘(Text) Contains’ and ‘Value’ should be the name of the area which you want to monitor. Examples can be ‘clifton’, ‘faisal’ in Sharah-e-Fasial, ‘korangi’ etc.
You will usually be monitoring several different areas, you can use the ‘Add OR Filter’ to add in another area.

Once you have added all the areas of interest, click Continue.
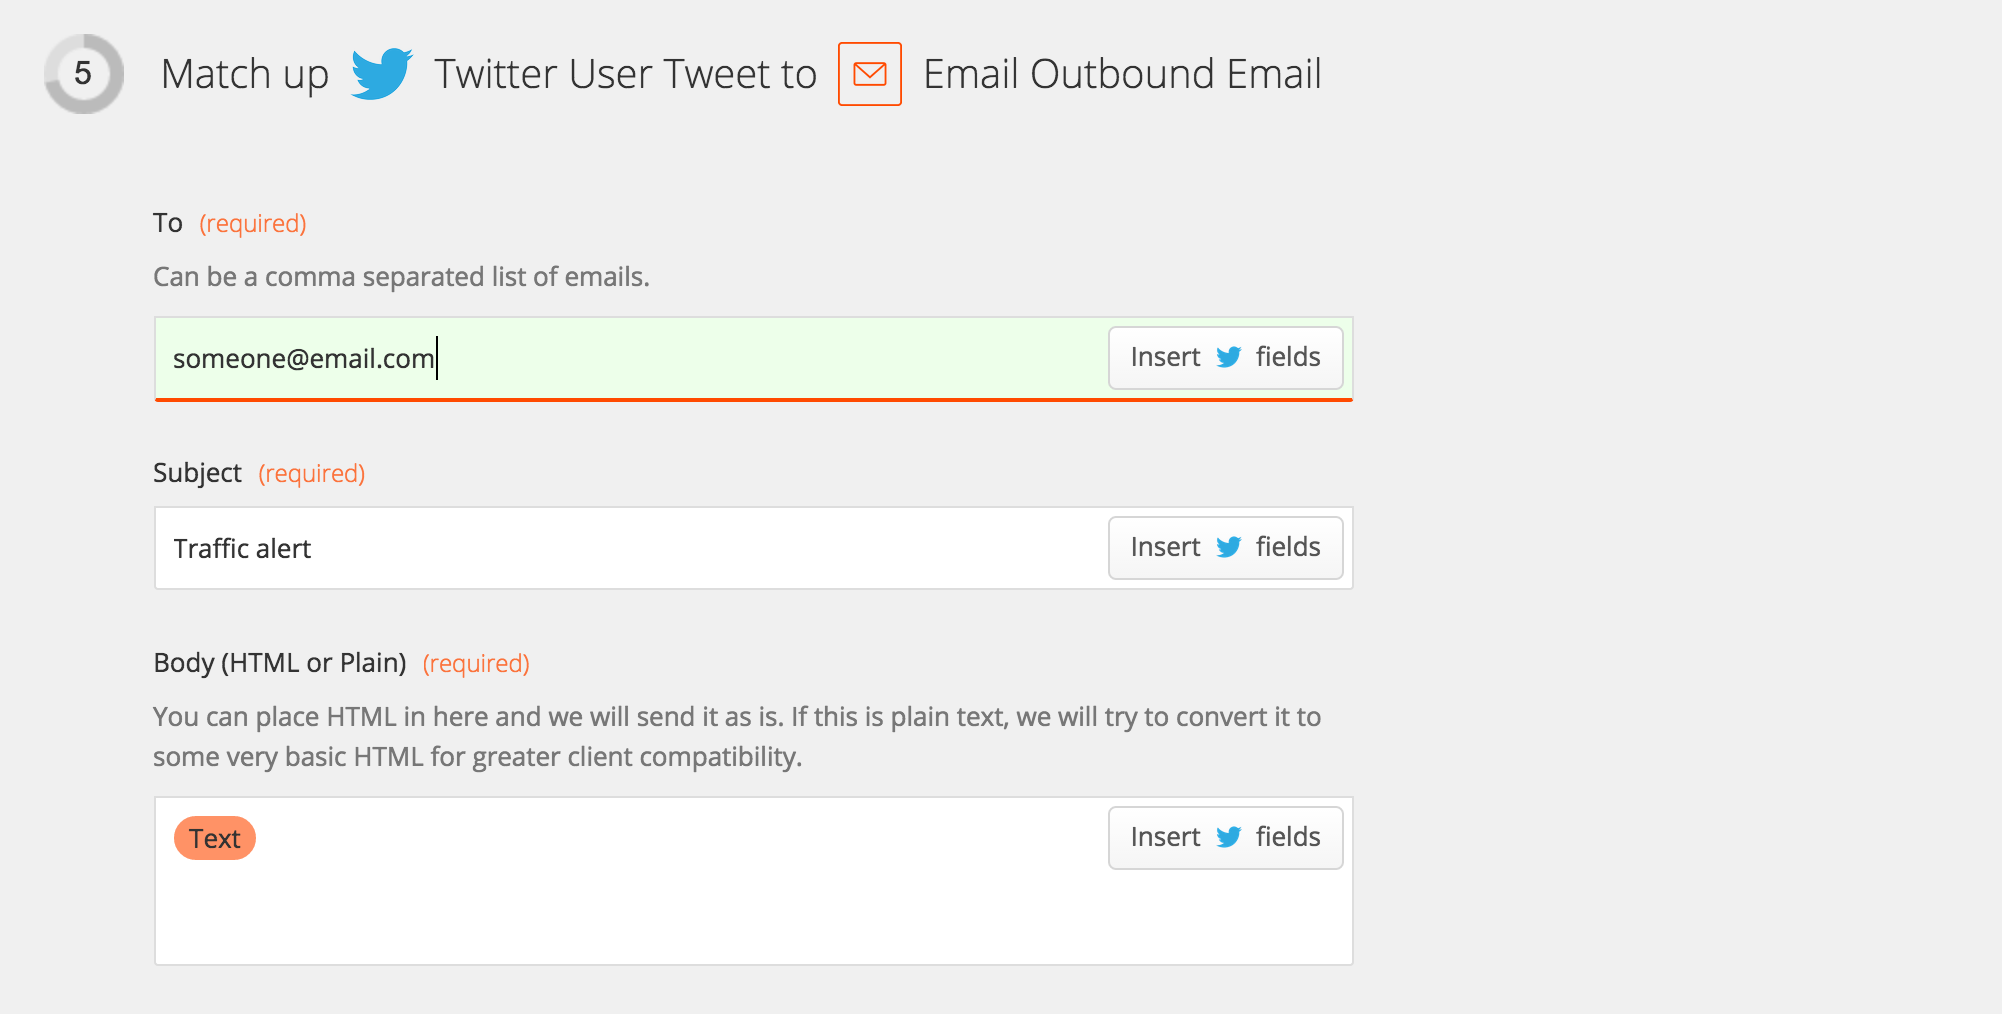
Now you shall configure the email. Under ‘To’ add your email address. Under ‘Subject’ you can add anything, e.g. ‘Traffic Alert’ and under ‘Body’ use the ‘Insert twitter fields’ button to choose ‘Text’. This will show the text of the tweet in the incoming email.
Click Continue.
Click on Test Twitter Trigger
Click Continue
Give a name to the Zap and click on ‘Turn Zap on’ – and that should have you all set for alerts on future traffic jams.
Do you have a better way of getting alerts? Let me know!